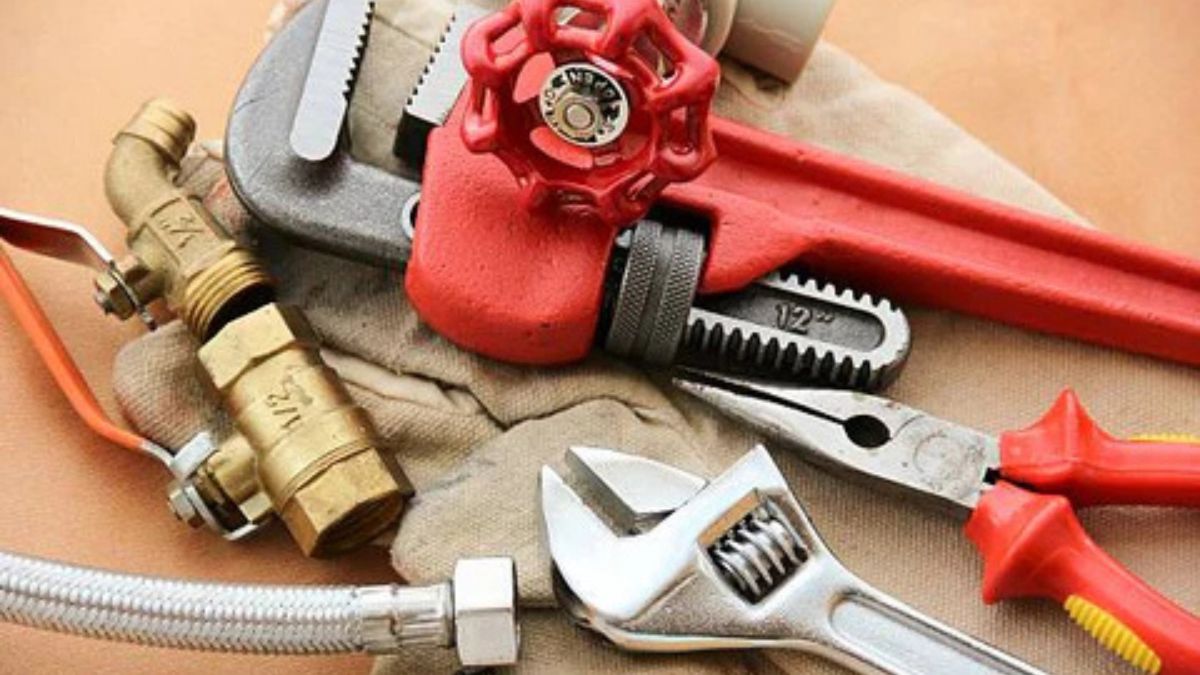
When it comes to DIY plumbing, having the right tools can make or break your project. Among these essential tools, the pipe wrench stands out as a must-have for any homeowner looking to tackle plumbing tasks on their own. This versatile instrument is designed to grip and turn pipes and fittings with ease, making it invaluable for both beginners and seasoned pros alike.
But simply owning a pipe wrench isn’t enough; knowing how to wield it effectively is key. Whether you’re tightening fittings or loosening stuck bolts, mastering some fundamental techniques will elevate your plumbing game. Get ready to dive into the top five techniques every DIY plumber should know about using this trusty tool! Your next plumbing project just became a lot easier.
Proper Use and Maintenance of a Pipe Wrench
Using a pipe wrench correctly is crucial for any DIY plumber. Ensure the wrench fits snugly around the pipe or fitting to avoid slippage, which can lead to damage or injury. Always turn the handle in a clockwise direction for tightening and counterclockwise for loosening.
Maintenance plays an essential role too. Regularly inspect your pipe wrench for rust or wear. Clean it after use with a cloth to remove grime and moisture that can cause corrosion.
Lubricate moving parts periodically with light oil to ensure smooth operation. A well-maintained tool will not only perform better but last longer as well.
Store your pipe wrench in a dry place, protected from extreme temperatures and humidity levels. This simple step preserves its functionality over time, making it ready whenever you need it next!
Technique #1: Loosening Stuck Nuts and Bolts
Loosening stuck nuts and bolts can be one of the most frustrating tasks in plumbing. A pipe wrench becomes your best friend in these situations.
Start by adjusting the jaw opening to fit snugly around the nut or bolt. This ensures maximum grip without slipping off during use. Place the wrench over the fastener, making sure it’s aligned correctly.
Apply steady pressure while turning counterclockwise. If it doesn’t budge right away, a bit of penetrating oil can work wonders. Let it soak for a few minutes before trying again.
For extra leverage, you can use a cheater bar on the handle for more torque—but be cautious not to strip the threads as you apply force. Patience is key when working with stubborn fittings; rushing may lead to damage.
With practice, loosening those pesky parts will become second nature and save you loads of time and frustration during your DIY plumbing projects!
Technique #2: Tightening Fittings without Damage
Tightening fittings can be tricky. A pipe wrench is a powerful tool, but it can easily cause damage if not used correctly. The key lies in employing the right technique.
When using your pipe wrench, grip the fitting firmly but gently. Apply steady pressure rather than sudden force to avoid stripping threads or cracking materials. It’s essential to position the jaws of the wrench at an angle that allows even distribution of force.
Another tip is to use a cloth or piece of rubber between the wrench and fitting. This acts as a cushion, preventing scratches and providing added grip without compromising integrity.
Always keep an eye on how far you’ve tightened it. Over-tightening can lead to leaks or worse, breakage down the line. Take your time; patience will save you from costly repairs later on while ensuring everything stays secure and intact.
Technique #3: Removing Old Pipes from Fittings
Removing old pipes from fittings can be a daunting task. A pipe wrench is your best ally here. Its adjustable jaws grip the pipe securely, allowing for maximum torque.
Start by ensuring you have a firm hold on both the wrench and the fitting. Apply steady pressure while turning counterclockwise. If corrosion or debris is present, consider using penetrating oil to ease the process.
Be mindful of any existing damage to surrounding fittings or pipes during this step. Patience pays off; rushing might lead to breaks or leaks later on.
If resistance persists, try gently tapping the pipe with a mallet after applying lubricant. This can help break loose stubborn connections without damaging them further.
Once removed, inspect both ends carefully for wear and tear before moving forward with replacements or repairs. Proper technique will save you time and hassle in future plumbing projects!
Technique #4: Bending Pipes with a Pipe Wrench
Bending pipes can be a daunting task, but with the right approach and your trusty pipe wrench, it becomes manageable. This technique is especially handy when working with soft metals like copper or aluminum.
Start by securing the pipe in a stable position. Grip one end of the pipe firmly with the wrench to prevent slipping as you apply pressure on the opposite end.
Use slow, steady movements while bending; this helps maintain control over your work and reduces the risk of kinks or cracks. If you’re dealing with thicker materials, consider using heat to soften them slightly before bending.
Remember that patience is key here. Rushing through this process may lead to damage, which can derail your project entirely. Using a pipe wrench effectively for bending not only saves time but also improves precision in your plumbing tasks.
Technique #5: Holding Pipes Securely for Cutting or Threading
When it comes to cutting or threading pipes, stability is key. A pipe wrench can give you the grip needed to keep your workpiece steady.
Position the wrench near the end of the pipe for maximum leverage. This will help prevent unnecessary movement while you perform delicate tasks like threading.
Adjust the jaws so they fit snugly around the pipe, but don’t over-tighten them. You want a firm hold without risking damage to the material.
If you’re working with softer metals like copper, be especially careful. Too much pressure can leave marks or deformations that affect seals later on.
Once secured, you’ll find it easier to apply consistent pressure during cutting or threading. With a solid grip from your trusty pipe wrench, you’ll enhance both accuracy and safety in your plumbing projects.
Conclusion
Understanding how to use a pipe wrench effectively can significantly enhance your plumbing skills. Mastering these five techniques will not only make your DIY projects easier but also save you time and frustration. Whether you’re loosening stubborn nuts, tightening fittings without causing damage, or even removing old pipes, the right approach can yield impressive results.
Invest some time in getting familiar with your pipe wrench. Proper maintenance is key to ensuring its longevity and effectiveness over the years. With practice, you’ll find that using this versatile tool becomes second nature.
So whether you’re tackling minor repairs at home or considering bigger plumbing tasks, remember that mastering these basic techniques can elevate your confidence as a DIY plumber. A well-used pipe wrench is an invaluable asset in any toolkit!


